Capture high-resolution compressed screenshots of users’ computers to uncover risks and unproductive activities.
Screenshots can be captured using three different scenario configurations: periodic, application event, and website event.
Create a new capture
- From the CurrentWare Console, go to BrowseReporter and click on the Screenshots feature from the dropdown.
- Click on the Configurations tab.
- Click on the New Capture button.
- Enter a Capture Name
- Select the computers you want to monitor
- Select the Capture type: periodic, websites or applications
- Periodic*
- Change the interval to capture screenshots (i.e. capture every 10 mins)
- Website**
- Click Add Websites to add the website domains to trigger the screenshot capture
- Change the Capture Wait Time if desired, to wait for a website to fully load and the user to start interacting with the site
- Application**
- Click Add Applications to add the applications to trigger the screenshot capture
- Use the Application file name.
Examples: chrome.exe, slack.exe, edge.exe, msedge.exe.
Note: You can find this from the task manager, or by using your BrowseReporter Dashboard - Change the Capture Wait Time if desired, to wait for an application to fully load and the user to start interacting with the application.
- Use the Application file name.
* Periodic screenshots can take up considerable disk space when tracking many computers or using a high frequency of capture. The section on managing disc usage provides guidance on controlling this.
** BrowseReporter will capture a single screenshot after the specified time interval has passed, but it will not take another screenshot of the same web page or application until the user switches away from it and then returns, making it active again. This ensures only one screenshot is captured per active session unless the session is interrupted and restarted.
How to find the original filename of an application?
1. To manually locate the Original Filename of an application
- Right-click on the .exe file in Windows Explorer and select Properties.
- Select the Details tab and click on Original Filename in the Item Name box.
- The Original Filename is located in the adjacent Value box.
The figure below gives an example of locating the Original Filename of Notepad. Not all Original File names have the .exe suffix extension. e.g. FreeCell has no extension so just enter “FreeCell”.
2. Use BrowseReporter Dashboard to get the Original Filename
The BrowseReporter Dashboard has the ability to show you the file name.
- Go to the Application Dashboard Tab
- Hovering over a time bar for an application will show you the original file name
- You can also go to the Activity Log at the bottom
- Choose the … button and the column button
- Select the “Application Process” column
- In the activity log all the used application file names will be available in the activity log
Viewing Screenshots
There are two ways to view screenshots on the CurrentWare Console.
All mode
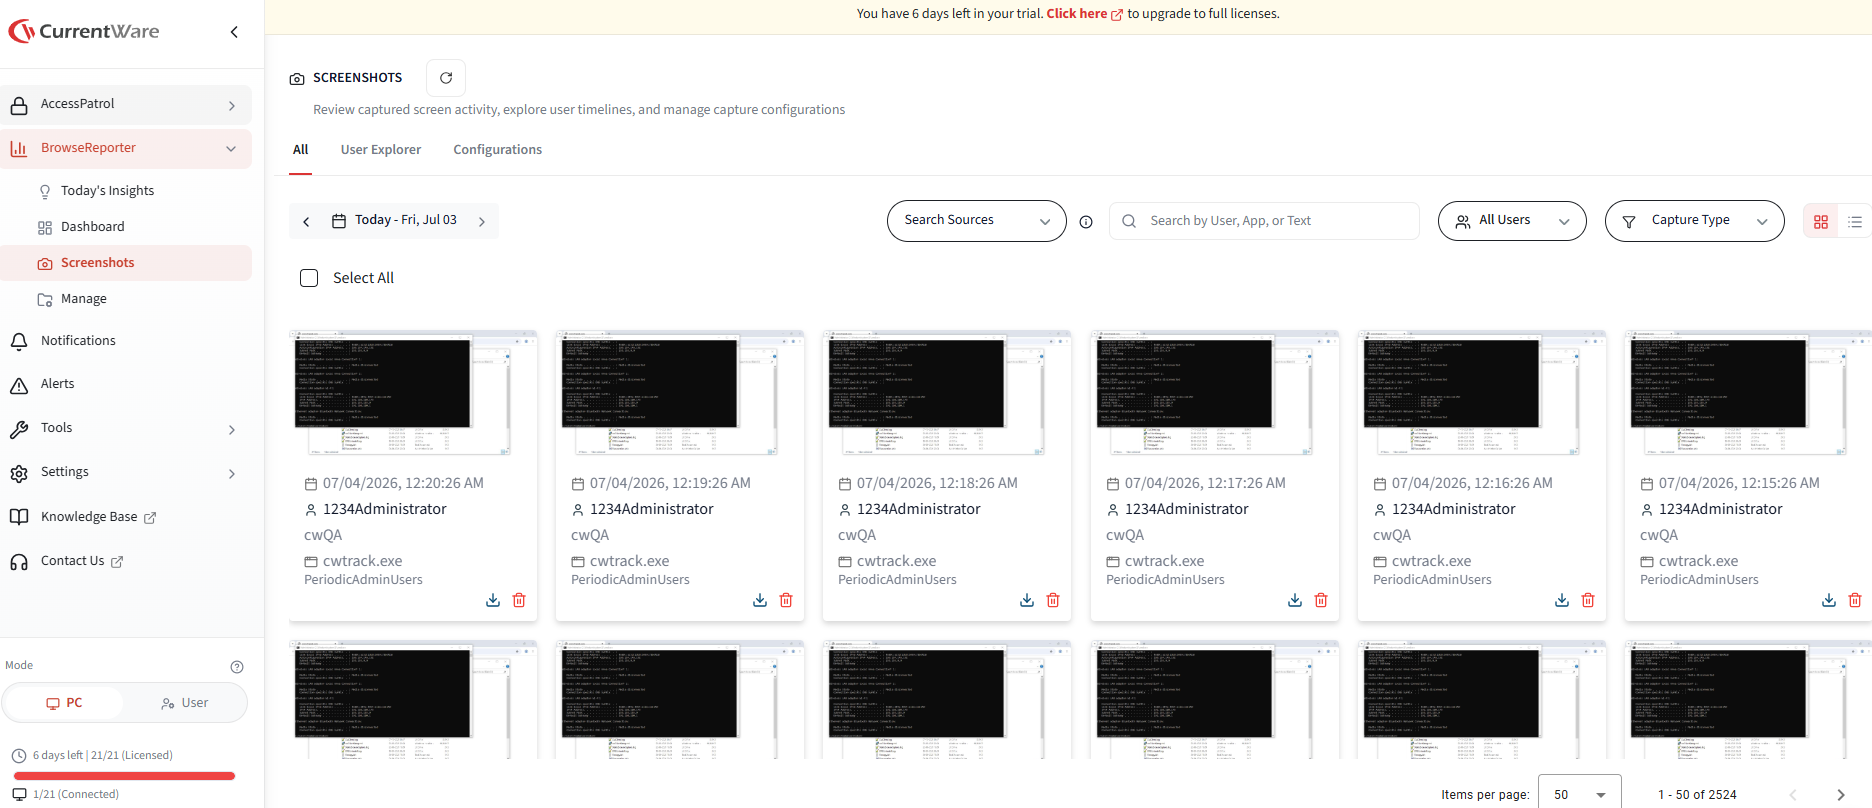
All screenshots for the selected date range will be displayed, sorted by most recent first.
User Explorer mode
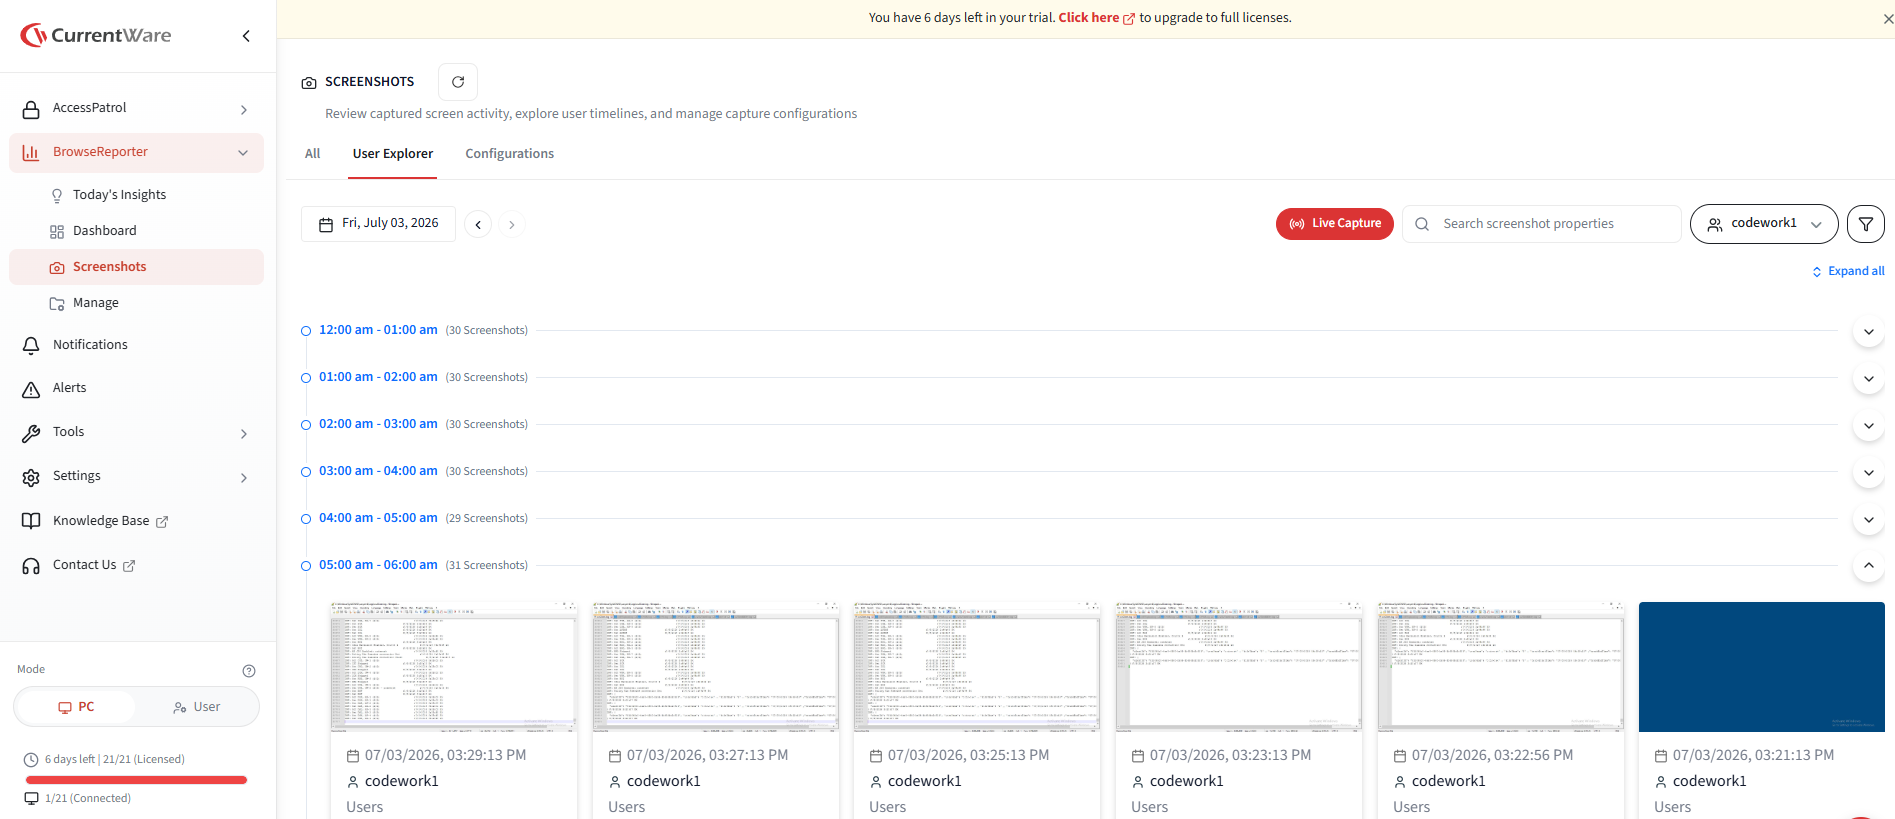
For focusing on a particular user, this mode provides access to all the screenshots for a selected user, arranged by hourly intervals which can be expanded or collapsed to hone in on activity during select periods.
Configuring auto cleanup
There is an option available that automatically delete image files after x days. Click the Settings cog and select the amount of days you wish store: